| Materials | Tools | ||||||
|
|


Plaster is coating a surface with cement render or plaster finish on an internal or external wall. Plaster is for decoration and protection of every building.
The role of external plaster is not only to primarily protect the covering structures of the building against the impacts of the external environment (rain, wind, sunshine), but also to provide thermal and sound protection of interior areas.
For estimating your requirements please refer to our Ready Reckoner or try our calculator located in the side panel.
Please see below our step-by-step guide to basic rendering; alternatively you can download our printable copy here:
![]()
-
1
Rendering basics
Cement based renders on both internal and external walls perform a number of functions. These include better waterproofing, improved fire rating and an improved appearance through the use of coloured or textured renders.
To get the best results it is important that the mix is suited to the background surface that it is properly applied to the correct thickness in the appropriate number of coats and that attention is paid to curing.
-
2
Preparing the surface to be rendered
Before you start you need to ensure that the surface you are rendering is free from dirt, dust, oil, grease, paint, silicone or friable material. Smooth dense surfaces with low absorption rates like concrete or metal window frames should be prepared with a “dash coat” prior to application of the render.
A dash coat is simply a very strong mix of cement and water which is flicked over the wall or metal window frames creating a surface for the render to grip to. Allow the dash coat to dry for at least 24 hours before you start to apply the render.
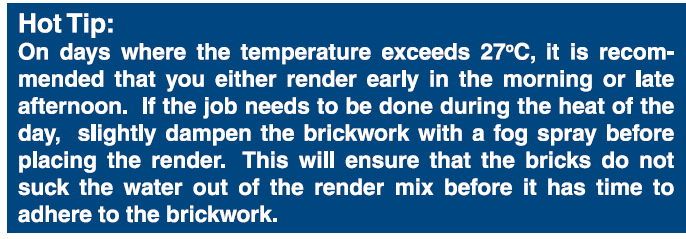
Highly absorbent surfaces like sandstone will normally require soaking down to prevent water loss from the freshly applied render.
-
3
Mixing the render
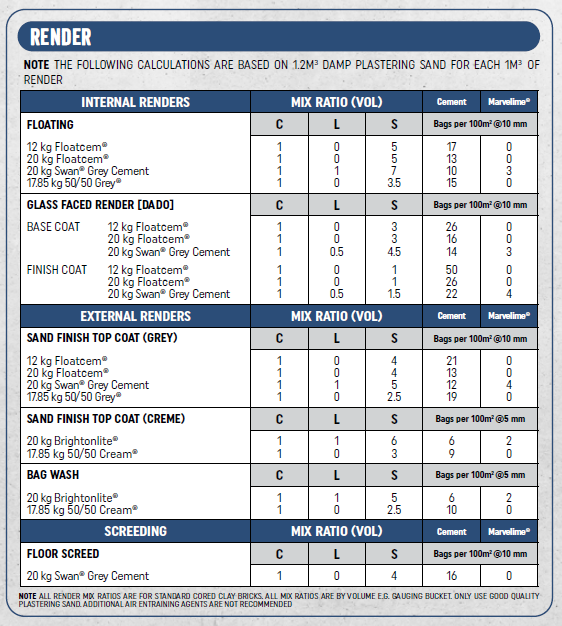
Firstly you need to decide on the type of render finish you want. Using the chart below you can determine the correct mix ratios and roughly how much material you will require.
When mixing renders by hand, measure the quantities carefully using the same gauge vessel for all ingredients.
Renders should be mixed on a hard flat surface (concrete slab) or a board, in a cement mixer or wheelbarrow.
Mix up enough render that can be used up in 30 – 40 minutes. If oxides are to be added, then you must follow the manufacturer’s guidelines.
Firstly combine all the dry materials until the colour is uniform. Add only small quantities of water at a time while continually mixing the render. The render should be in a soft putty-like state and should stick to the float when you turn it up-side down. If the render is too wet, do not use it – discard and start again.
-
4
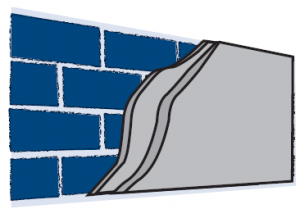
Applying the render
As a guide for thickness you can nail wooden battens of the correct thickness vertically to the wall which also gives you a clean edge to work to.
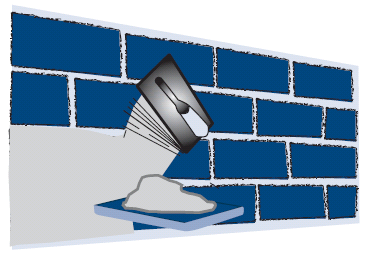
Using your steel float, start forcing the first layer of render on to the wall. Keep applying the render until you have reached the desired thickness. Once the thickness has been reached, use a straight edge such as a metal leveller and screed off the render using a sawing motion. Gently trowel smooth with a steel float.

If you are applying more than one coat, you will need to let each coat dry for at least 3 – 7 days. You will then need to scour each coat with a sharp object to provide a good surface for the second coat of render to bond to.
-
5
Finishing the render
A number of decorative finishing effects can be achieved using different finishing techniques on the final coat.
Trowel Finish – This is achieved by skimming the final coat using a wooden float to produce a smooth dense surface.
Bagged / Patterned Finish – This is achieved by rubbing a ball of damp hessian into the surface which produces patterns depending on the style of rubbing.
Sponge Finish – Mopping or sponging the hardened surface with a damp sponge achieves a sponge textured finish.
Care should be taken not to let water run down the wall spoiling the finish by washing the cement out of the render.
Roughcast Finish – Throwing and flicking the final coat onto the surface achieves a roughcast finish, no re-touching is carried out, and the way it lands is how it looks.
Textured Finish – Textured finishes can be achieved by the addition of a coarser aggregate being added to the mix for the final coat.